Your Journey to Podcasting Stardom Starts with the Right Gear
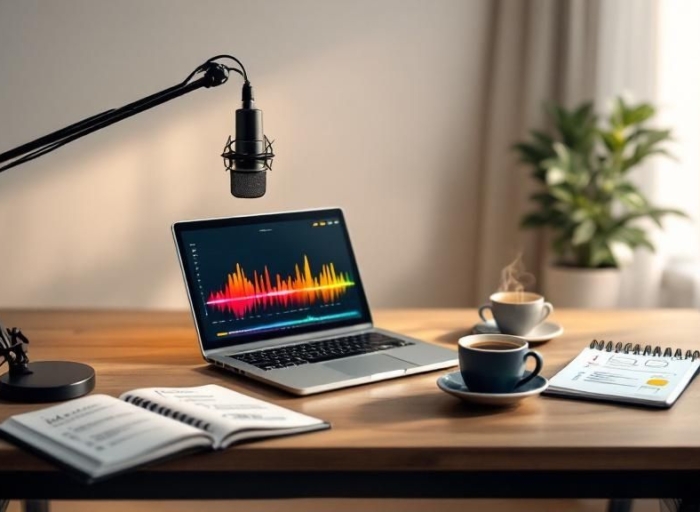
Stepping into the world of podcasting can feel both exhilarating and overwhelming. You have a message to share, stories to tell, and an audience waiting to connect. But one crucial question stands in your way: What equipment do you actually need? Navigating the endless options for microphones, interfaces, and headphones can quickly lead to analysis paralysis, delaying the launch of your show.
This guide is designed to cut through that noise. We're not just listing products; we're providing a strategic roadmap for assembling the best podcast equipment for beginners. Each item on this list is chosen for its exceptional value, ease of use, and ability to grow with you. We will break down why specific gear works, how to use it effectively, and how to build a professional-sounding home studio without breaking the bank.
By the end of this article, you'll have the confidence to invest in equipment that empowers you to produce high-quality audio from your very first episode. Of course, great gear is just one piece of the puzzle. Beyond just equipment, a comprehensive guide to starting a podcast can provide a holistic view for beginners as you embark on your journey. Let's get you set up for success.
1. Audio-Technica ATR2100x-USB
When searching for the best podcast equipment for beginners, the Audio-Technica ATR2100x-USB consistently tops the list for one crucial reason: flexibility. This dynamic microphone is a true hybrid, offering both USB and XLR connectivity. This dual-output design makes it an ideal starting point for new podcasters who want a professional sound without a steep learning curve or high initial investment.
Why It's a Top Choice for Beginners
The genius of the ATR2100x-USB lies in its "grow-with-you" capability. You can start podcasting immediately by plugging it directly into your computer's USB port. This plug-and-play functionality bypasses the need for an external audio interface, simplifying your initial setup. As your podcast grows and your technical skills advance, you can switch to the XLR output. This allows you to connect the microphone to a mixer or an audio interface for more granular control over your sound, a path many podcasters take as they transition from a hobby to a more professional production.
Its cardioid polar pattern is another significant advantage for home-based creators. This pattern focuses on capturing sound directly in front of the microphone while effectively rejecting ambient noise from the sides and rear. This is incredibly forgiving in less-than-perfect recording spaces like a spare bedroom or home office, minimizing echoes and background sounds without extensive acoustic treatment.
Actionable Tips for Optimal Performance
To get the most out of your ATR2100x-USB, follow these practical steps:
- Mic Positioning: Place the microphone 6 to 8 inches from your mouth and speak directly into the top of it. This maximizes the cardioid pattern’s effectiveness and captures the warmth of your voice.
- Real-Time Monitoring: Use the built-in 3.5mm headphone jack. Plugging your headphones directly into the microphone lets you hear exactly what it's capturing in real-time with zero latency, which is essential for managing your audio levels and delivery.
- Pop Filter Use: Although forgiving, pairing it with an inexpensive pop filter is a non-negotiable. This small accessory will prevent harsh "plosive" sounds (like 'p' and 'b' sounds) from distorting your audio, ensuring a clean, professional recording.
The following quick reference chart summarizes the key specifications that make this microphone a standout choice.
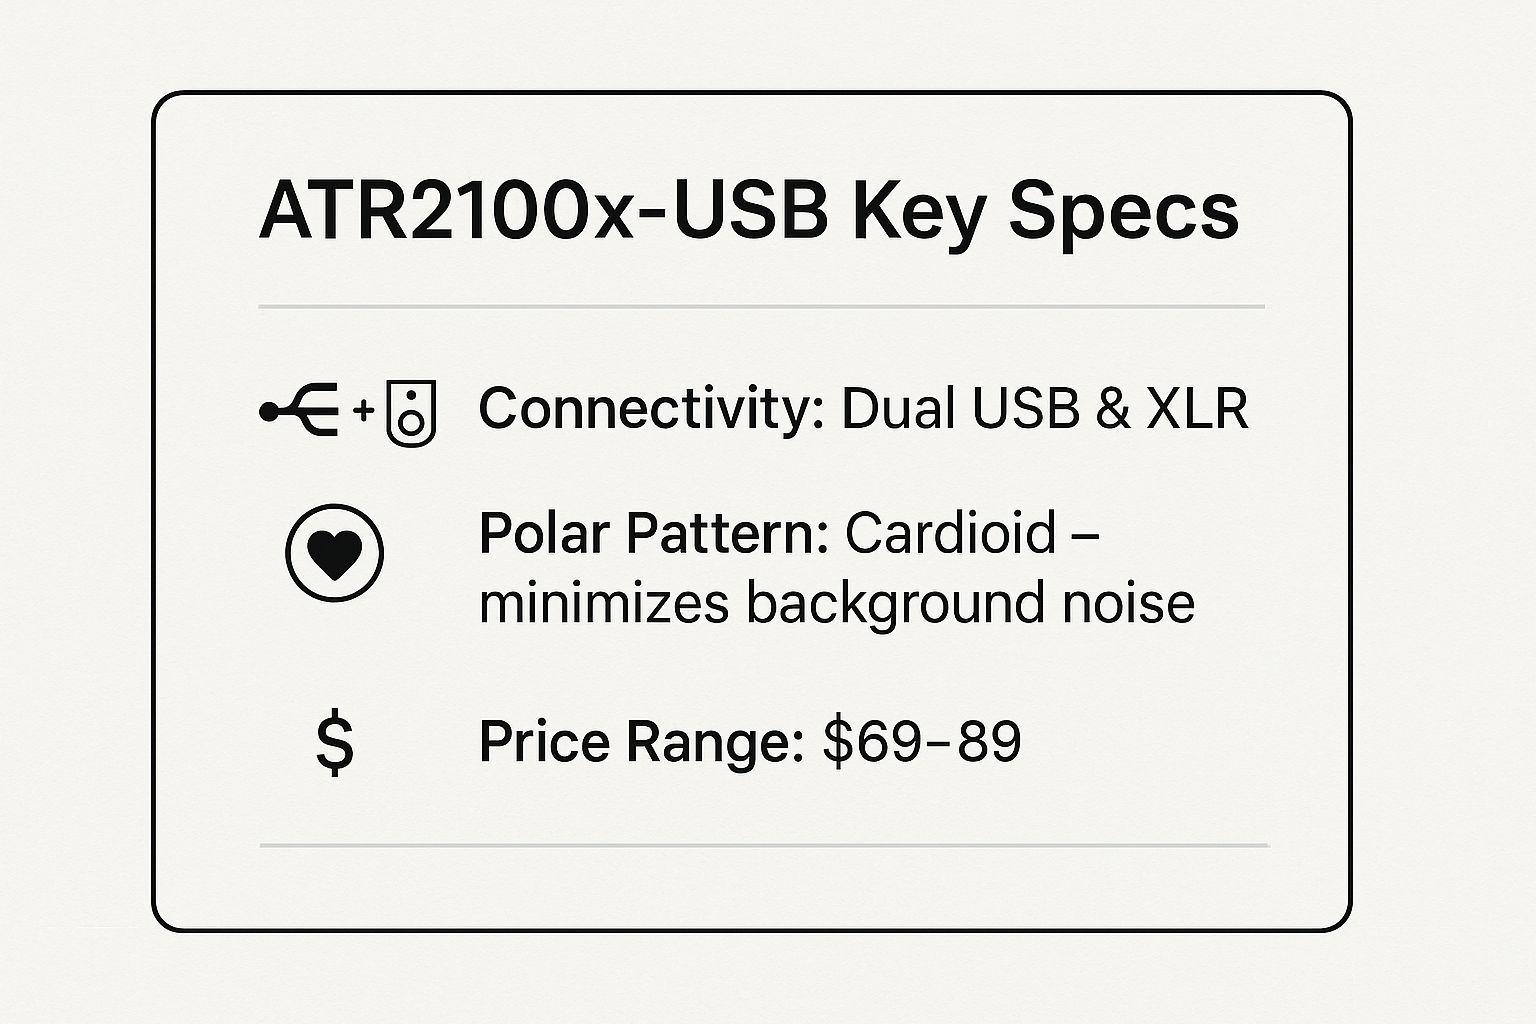
As the infographic highlights, the combination of dual connectivity, a focused cardioid pattern, and an accessible price point makes the ATR2100x-USB an unmatched value proposition for anyone starting their podcasting journey.
2. Focusrite Scarlett Solo (3rd Gen)
If the ATR2100x-USB is the perfect hybrid starter mic, the Focusrite Scarlett Solo (3rd Gen) represents the next logical step up in the world of the best podcast equipment for beginners. This compact USB audio interface is the bridge that connects professional-grade XLR microphones to your computer. It’s designed for the solo creator who wants to unlock superior audio quality and greater control without being overwhelmed by complex gear.
Why It's a Top Choice for Beginners
The Scarlett Solo's primary advantage is its simplicity and quality. It features one of Focusrite's renowned microphone preamps, which provides clean, clear, and powerful gain to your XLR microphone. This is crucial for getting a strong signal without introducing unwanted noise or hiss. It also includes 48V phantom power, a feature required to operate most condenser microphones, giving you a wider choice of professional mics.
Its famous "Air" mode is another beginner-friendly feature. With the press of a button, it adds brightness and clarity to your vocals, emulating the sound of Focusrite's legendary ISA preamps. This gives your voice-over a more open and polished sound instantly, a trick that would otherwise require post-production knowledge. The interface is a standard recommendation in audio engineering schools and is used by countless creators who need reliable performance in a straightforward package. To explore more options and detailed comparisons for your recording setup, check out our guide on the best audio interface for beginners.
Actionable Tips for Optimal Performance
To ensure you're getting broadcast-ready audio from your Scarlett Solo, apply these specific tips:
- Set Your Gain Correctly: Adjust the gain knob so the "halo" light around it glows solid green while you speak at a normal volume. If it flashes yellow or red, you're "clipping" the audio, which causes distortion. A consistent green means a healthy signal level.
- Use Direct Monitoring: Activate the "Direct Monitor" switch on the front of the unit. This lets you hear your voice directly through your headphones without any of the delay (latency) caused by the signal traveling through your computer, which is vital for a natural-sounding performance.
- Keep Drivers Updated: Regularly visit the Focusrite website to download and install the latest drivers for your Solo. This ensures maximum compatibility with your operating system and recording software, preventing common technical glitches.
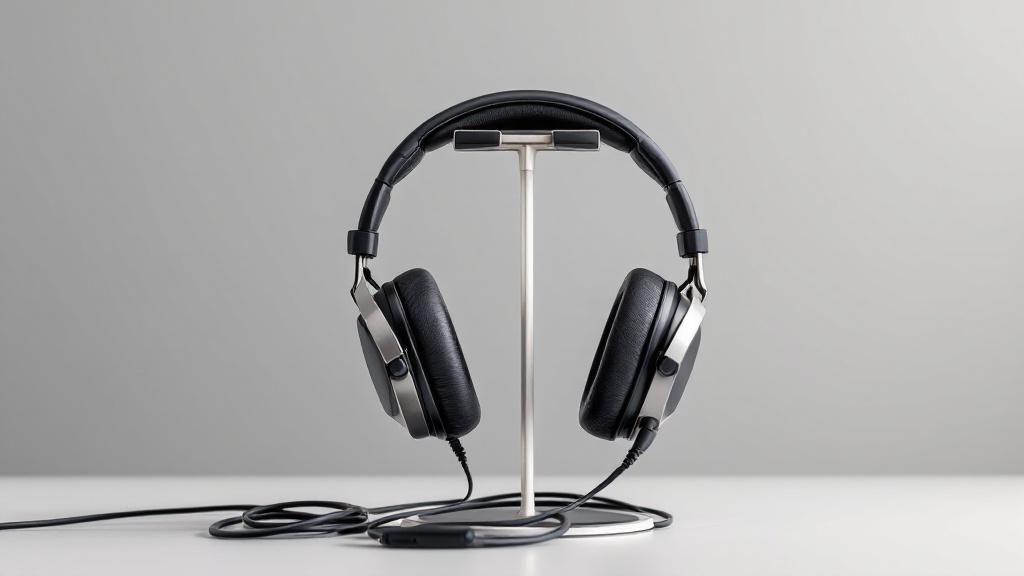
3. Sony MDR-7506
When assembling the best podcast equipment for beginners, a reliable pair of headphones is non-negotiable, and the Sony MDR-7506 has been the undisputed industry standard for decades. Found in professional recording studios and broadcast booths worldwide, these closed-back headphones are revered for one reason: accuracy. They deliver a flat, uncolored sound profile, allowing you to hear your audio exactly as it was recorded, which is critical for making precise editing decisions.
Why It's a Top Choice for Beginners
The primary benefit of the MDR-7506 for a new podcaster is its ability to reveal flaws. Unlike consumer headphones that often boost bass or treble to make music sound more exciting, these headphones provide an honest representation of your sound. This means you can easily identify issues like mouth clicks, background hum, or harsh sibilance that might otherwise go unnoticed. Their closed-back design also provides excellent sound isolation, preventing microphone bleed-through when you're recording and helping you focus during the editing process. This level of detail and isolation, once reserved for audio engineers, is now accessible to beginners, setting a strong foundation for high-quality production.
Actionable Tips for Optimal Performance
To get the most professional results from your Sony MDR-7506 headphones, follow these guidelines:
- Purpose-Driven Use: Use these headphones primarily for monitoring during recording and for critical listening during the editing phase. For casual listening, you might find them less "fun," but their job is to be accurate, not flattering.
- Reference Against Consumer Gear: After editing your episode using the MDR-7506s, listen to the final mix on consumer earbuds or speakers. This helps ensure your podcast sounds great for your audience, no matter how they are listening.
- Maintain Your Ear Pads: The ear pads are the first thing to show wear. Clean them regularly for hygiene and comfort. If they start to flake or compress, inexpensive replacements are widely available and easy to install, restoring the headphones' sound isolation and comfort.
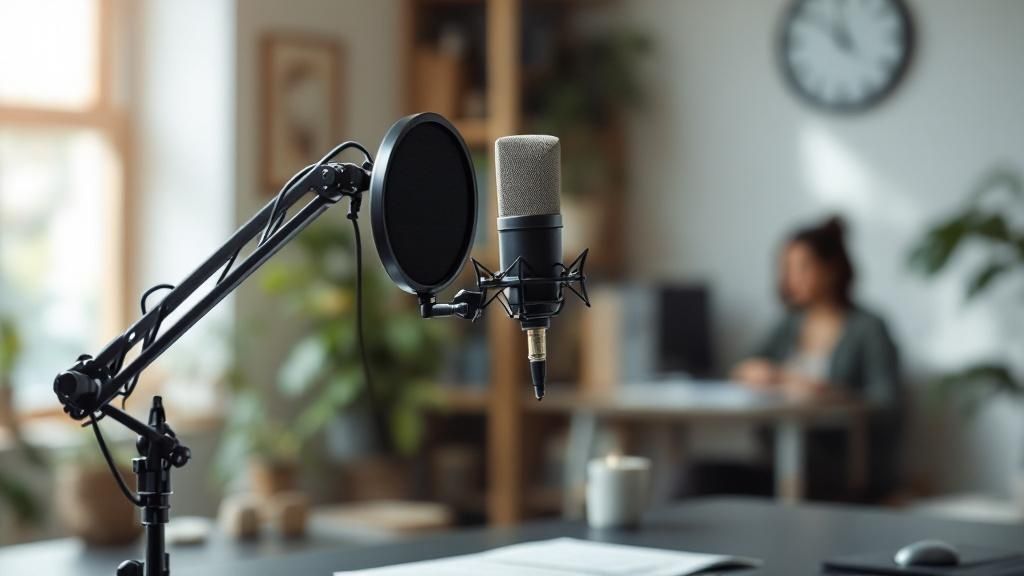
4. Boom Arm with Pop Filter Kit
While a high-quality microphone is foundational, how you position it is just as critical for professional sound. A boom arm and pop filter kit is often overlooked but is a non-negotiable piece of the best podcast equipment for beginners. This all-in-one solution allows you to place your microphone in the ideal position for capturing your voice while simultaneously isolating it from desk vibrations and preventing harsh audio pops.
Why It's a Top Choice for Beginners
The primary benefit of this kit is its immense impact on audio quality and recording workflow for a minimal investment. A boom arm elevates the microphone off your desk, which immediately eliminates the low-frequency rumbles caused by bumping the table or typing. The included shock mount cradles the microphone, further absorbing any subtle vibrations that travel up the stand. To properly position your microphone and enhance sound quality, considering an adjustable microphone boom arm is essential for achieving this professional standard.
Furthermore, the pop filter is a beginner's best friend. It diffuses the bursts of air from "plosive" sounds (like hard 'p' and 'b' sounds) that can otherwise create a distorted, unpleasant thud in your recording. This simple screen saves countless hours in post-production and ensures a clean, polished sound directly from the source. The combination of these tools, popularized by professional radio broadcasters and streamers, gives your home setup an immediate, professional edge.
Actionable Tips for Optimal Performance
To leverage this kit effectively, focus on these setup details:
- Optimal Positioning: Clamp the boom arm to the side of your desk, not directly in front of you. This allows you to bring the microphone to your mouth from the side, keeping your screen and notes fully visible.
- Adjust Tension: Most boom arms have tension screws at the joints. Tighten them just enough so the arm holds your microphone's weight without drooping but remains easy to adjust. This prevents mid-recording microphone sag.
- Pop Filter Placement: Position the pop filter approximately 4 to 6 inches away from the microphone capsule. This distance is the sweet spot for diffusing plosives without coloring the sound of your voice.
For a visual guide on setting up your microphone, pop filter, and achieving the best sound, this video provides a helpful overview.
5. Audacity (Free Audio Editing Software)
While hardware gets the spotlight, the software you use to edit and produce your show is an equally critical piece of the best podcast equipment for beginners. This is where Audacity, a free, open-source digital audio workstation (DAW), becomes an indispensable tool. For over two decades, it has been the go-to starting point for countless podcasters, providing a powerful suite of editing features without the intimidating price tag of professional software.
Why It's a Top Choice for Beginners
Audacity’s primary advantage is its zero-cost barrier to entry, allowing you to allocate your budget to essential hardware like a quality microphone. Despite being free, it is remarkably powerful. You can record directly into the software, edit multiple tracks, remove background noise, and mix your audio into a final product. This comprehensive functionality means you don't have to sacrifice professional capabilities when starting out.
Its widespread adoption by the open-source community, educational institutions, and independent creators means there is a massive library of tutorials and support available. If you run into a problem, a solution is just a quick search away. This accessibility demystifies the technical side of podcast production, empowering new creators to learn essential skills like cutting mistakes, layering intros and outros, and balancing audio levels with confidence.
Actionable Tips for Optimal Performance
To get the most out of Audacity for your podcast, follow these practical steps:
- Master the Basics: Begin by learning the fundamental commands: Cut, Copy, Paste, and Silence Audio. Mastering these, along with the "Selection" and "Time Shift" tools, will handle 90% of your initial editing needs.
- Clean Your Audio: Use the Noise Reduction effect. Select a few seconds of pure background noise from your track, go to
Effect > Noise Reduction, and click "Get Noise Profile." Then, select your entire voice track and apply the effect to dramatically reduce unwanted hiss and hum. - Work Non-Destructively: Always save your project (
.aup3file) and work on copies of your original audio files. This practice prevents you from permanently altering your raw recordings, allowing you to go back and fix mistakes without having to re-record. - Learn Keyboard Shortcuts: Speed up your workflow significantly by learning shortcuts for common actions. Pressing
Ctrl + 1(orCmd + 1on Mac) to zoom in andCtrl + Bto create a label are huge time-savers.
6. Acoustic Treatment Panels
While a great microphone is essential, the room you record in is just as important. Acoustic treatment panels are a critical piece of the best podcast equipment for beginners because they address a problem that no microphone can fix on its own: poor room acoustics. These sound-absorbing panels, typically made of foam or fabric-wrapped fiberglass, are designed to eliminate echo (reverberation) and unwanted sound reflections, transforming a boomy, unprofessional-sounding space into a controlled recording environment.
Why It's a Top Choice for Beginners
The primary benefit of acoustic treatment is achieving audio clarity and professionalism. Without it, your voice will bounce off hard surfaces like walls, ceilings, and desks, creating a distracting echo that makes your podcast sound amateurish. By strategically placing these panels, you absorb those reflections before they reach your microphone. This results in a cleaner, more direct, and richer vocal recording that is significantly easier to edit and mix in post-production.
For beginners recording in untreated spaces like a home office or spare bedroom, this is a game-changer. It's the secret ingredient that elevates a good microphone's performance to great, making your audio sound like it was recorded in a professional studio. Investing in a few well-placed panels often yields a more dramatic improvement in sound quality than upgrading your microphone.
Actionable Tips for Optimal Performance
To effectively treat your space without breaking the bank, follow these practical steps:
- Target First Reflection Points: You don't need to cover every wall. Sit in your recording position and have a friend slide a mirror along the walls around you. Any spot where you can see the microphone in the mirror is a "first reflection point." Prioritize placing panels in these key locations.
- Start Small and Test: Begin with a modest set of 6 to 12 panels. Place them at the first reflection points on the walls to your sides, front, and ceiling. Record audio samples before and after installation to hear the tangible difference and determine if you need more coverage.
- DIY and Budget Solutions: If dedicated panels are out of budget, combine them with other sound-absorbing materials. Thick blankets, heavy curtains, and even bookshelves filled with books can help dampen reflections and improve your room's sound.
- Consider Movable Options: If you record in a multi-use room, consider building or buying freestanding acoustic panels. This allows you to set up your treated recording space when needed and easily store it away afterward, offering maximum flexibility.
7. Portable Digital Recorder (Zoom H1n)
While a good microphone is essential, the best podcast equipment for beginners also includes tools that add versatility and reliability. The Zoom H1n portable digital recorder is a prime example, offering a compact, powerful solution for recording high-quality audio anywhere. It acts as a safety net, a field recorder, and a primary recording device all in one, making it an invaluable asset for new creators.
Why It's a Top Choice for Beginners
The Zoom H1n’s greatest strength is its independence. It allows you to record professional-grade audio without being tethered to a computer. This is a game-changer for podcasters who want to conduct on-location interviews, capture ambient sounds for storytelling, or simply have a foolproof backup. Computer software can crash, but a dedicated recorder like the H1n captures everything to its own SD card, ensuring your interview with a key guest is never lost to a technical glitch.
Furthermore, it’s incredibly user-friendly. The one-touch recording controls and simple menu system remove the intimidation factor often associated with audio gear. It features built-in stereo X/Y microphones that capture a clear, immersive soundscape, perfect for solo recording or small group discussions. For beginners, it’s a self-contained studio that fits in your pocket, providing freedom and peace of mind as you venture beyond a simple desk setup.
Actionable Tips for Optimal Performance
To get the most out of your Zoom H1n, apply these practical strategies:
- Always Run as a Backup: Even when recording directly to your computer, have the H1n running simultaneously. This simple habit provides a clean, secondary audio file that can save an entire episode from disaster.
- Set Manual Levels: While auto-levels are convenient, they can cause distracting volume fluctuations. Learn to set your recording levels manually to a target of around -12dB to ensure consistent, professional-sounding audio.
- Format the SD Card: Before every important recording session, format the SD card in the H1n itself. This minimizes the risk of card errors and data corruption, securing your valuable audio.
- Monitor Your Power: The H1n runs on AA batteries. Always start a session with a fresh pair and keep spares on hand. Nothing is worse than a recorder dying mid-interview.
Essential Features Comparison of Top 7 Podcast Tools
| Item | Implementation Complexity | Resource Requirements | Expected Outcomes | Ideal Use Cases | Key Advantages |
|---|---|---|---|---|---|
| Audio-Technica ATR2100x-USB | Moderate – plug-and-play USB or XLR | Requires USB or audio interface | Broadcast-quality audio, reduced background noise | Beginner to professional podcasting | Dual USB & XLR, durable, minimal noise |
| Focusrite Scarlett Solo (3rd Gen) | Moderate – USB setup with drivers | USB connection, XLR microphone | High-quality audio conversion, low latency | Solo content creators, musicians | High-quality preamp, direct monitoring |
| Sony MDR-7506 | Low – plug into headphone jack | Requires audio source with headphone output | Accurate, uncolored monitoring sound | Studio monitoring, editing | Durable, excellent isolation, comfortable |
| Boom Arm with Pop Filter Kit | Moderate – physical mounting/setup | Desk space, sturdy desk clamp | Reduced handling noise, plosive control | Professional & home podcast studios | Adjustable, ergonomic, noise reduction |
| Audacity (Free Audio Editing Software) | Moderate – software learning curve | Compatible computer | Professional-level audio editing | Beginner podcasters, educators | Free, multi-platform, extensive features |
| Acoustic Treatment Panels | Moderate – installation & placement | Multiple panels, wall space | Improved room acoustics, echo and reverberation reduction | Untreated home recording rooms | Affordable, easy install, improves sound |
| Portable Digital Recorder (Zoom H1n) | Low – simple handheld operation | Batteries, SD card | Portable, backup, field recording | Remote interviews, field recordings | Portable, easy use, long battery life |
From Gear to Greatness: Your Next Steps in Podcasting
You have now navigated the essential landscape of podcasting gear, moving from uncertainty to a clear, actionable shopping list. This detailed exploration proves one crucial point: securing the best podcast equipment for beginners is not about spending the most money, but about investing intelligently in foundational pieces that guarantee quality and reliability from your very first recording. The goal is to build a setup that is both effective and scalable.
We've covered the core components that form a powerful beginner's studio. The journey begins with your microphone, the very first link in your audio chain. The hybrid functionality of the Audio-Technica ATR2100x-USB offers unparalleled flexibility, allowing you to start with simple USB plug-and-play and later graduate to a more advanced XLR setup using an audio interface. This single piece of gear embodies the principle of smart, future-proof investment.
Core Takeaways for Your Podcasting Journey
Mastering your equipment is about understanding how each component contributes to the final product. Your success hinges on more than just the gear itself; it's about the synergy between the tools and your technique.
- Your Audio Interface is Your Command Center: The Focusrite Scarlett Solo is not just a box that connects your mic to your computer. It's the central hub for your audio, giving you hands-on control over gain levels and providing clean, professional-grade preamps. Learning to set your gain properly is one of the most critical skills to avoid distortion and weak signals.
- Headphones Are Your Reality Check: The Sony MDR-7506 headphones are your window into what your audience will actually hear. They provide an honest, uncolored sound, revealing imperfections like plosives, background noise, or clipping that consumer earbuds might hide. Always monitor your audio live while recording to catch issues in real-time.
- Master the "Last Mile" of Audio: Your recording environment is as important as your microphone. Basic acoustic treatment panels and a simple boom arm with a pop filter are non-negotiable accessories. They are the difference between a clear, direct vocal and an echoey, amateur recording. These small investments deliver a massive return in perceived professionalism.
Putting It All Together: Your Action Plan
With this knowledge, your path forward is clear. Stop the endless cycle of research and start taking action. The real learning begins when you press the record button. Begin by practicing with your new setup. Record short segments, listen back critically through your studio headphones, and identify areas for improvement. Experiment with microphone placement, speaking volume, and editing techniques in a program like Audacity. This hands-on experience is where you will truly find your voice and develop a smooth workflow.
The ultimate purpose of assembling the best podcast equipment for beginners is to remove technical barriers so you can focus on what truly matters: your content. Your unique perspective, your compelling stories, and the value you provide to your listeners are the soul of your show. This equipment is simply the vessel. Build this solid foundation, commit to consistent practice, and you will be well on your way to creating a podcast that not only sounds great but also resonates deeply with your audience.
Ready to take your polished sound to the next level and find your audience? Pod Paradise Radio is a platform dedicated to amplifying emerging creators just like you, connecting your unique voice with listeners in Punta Cana and beyond. Share your passion and grow your show by getting featured on a station that celebrates new talent.
Explore how Pod Paradise Radio can boost your podcast today!
Article created using Outrank